Augmented reality (AR) turns a camera view into an interactive canvas by fusing 3D content with the physical world. In mobile development, ARKit (iOS) and ARCore (Android) give you the building blocks—world tracking, plane detection, anchors, depth, and rendering—to place digital objects that feel stable and believable. This guide shows you, step-by-step, how to go from idea to launch without getting lost in engine settings or device quirks. In one sentence, you’ll: define a valuable use case, set up the right stack, design spatial UX, prepare efficient assets, anchor content correctly, add realism, craft interactions, persist and share scenes, test like a pro, and ship safely. At a glance, the steps are: (1) pick a use case, (2) choose stack & project setup, (3) design spatial UX, (4) prepare 3D assets, (5) detect & anchor, (6) render realism, (7) interaction, (8) persistence & multiuser, (9) testing & metrics, (10) privacy, safety & release. Follow them and you’ll build AR that users actually keep using.
1. Choose a use case that really needs AR
The fastest way to fail with AR is to treat it like a novelty camera filter. Start by picking a problem that requires spatial understanding—placing furniture at scale, visualizing equipment maintenance steps on a machine, previewing art on a wall, trying cosmetics on a face, or guiding wayfinding in large venues. State the outcome in one sentence: “Users can place and resize a product to scale, walk around it, and capture a photo.” Then identify what the framework must do: world tracking, plane or image detection, realistic lighting, and possibly occlusion or depth. Decide whether content should persist between sessions and whether multiple users must see the same thing in the same place. This scoping also informs which devices you’ll support and which features you can safely omit in a v1.
How to do it
- Write a 1-page product note with the user, job-to-be-done, and a “no-AR fallback” (what the user would do without AR).
- List the exact sensor capabilities you need (world tracking, plane detection, image tracking, face/body tracking, depth/occlusion).
- Rank features by must-have vs nice-to-have; for v1, aim for two must-haves.
- Sketch three screens: enter AR, place content, confirm/share.
- Define a success metric (e.g., placement completion rate, time to first successful placement).
Numbers & guardrails
- Target a placement success rate above 80% in user tests; if lower, improve onboarding and hit-testing affordances.
- Keep first-time-to-AR under ~5 seconds on supported devices; slow starts kill retention.
Wrap this step by sanity-checking whether AR adds clarity or friction. If AR is not uniquely helpful, keep the 3D but offer a non-AR viewer as backup (e.g., model viewer on a flat background).
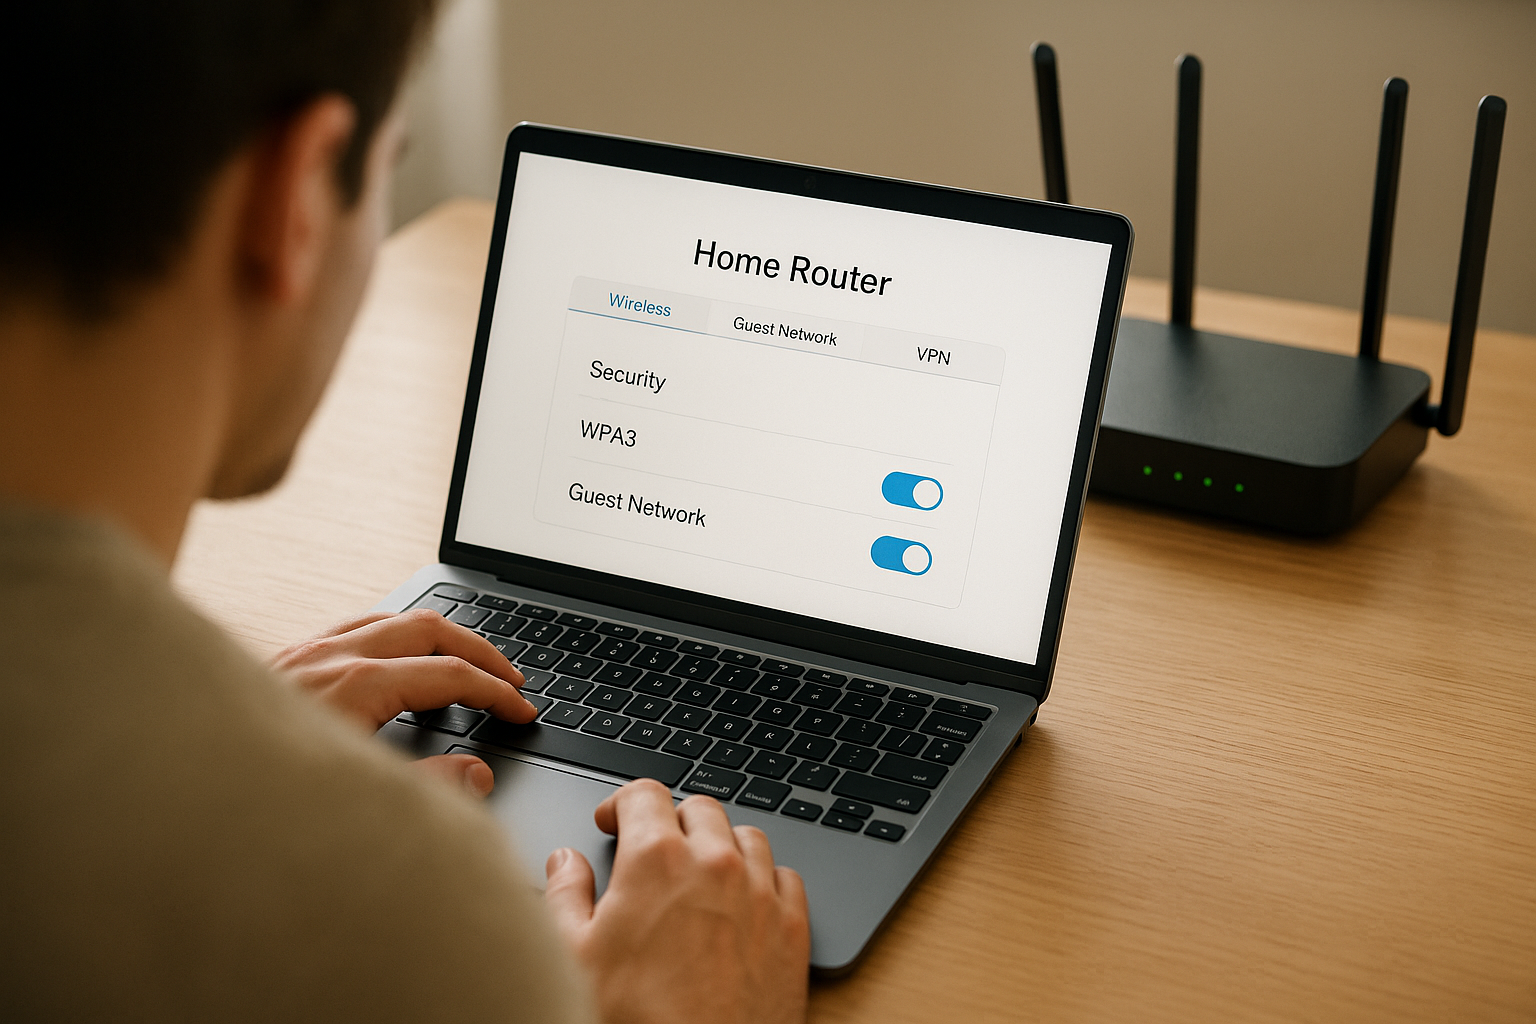
2. Pick your tech stack and set up the project correctly
Your core choices are native frameworks (ARKit on iOS with RealityKit/SceneKit) or a cross-platform engine (Unity with AR Foundation). Native gives you the most direct access to Apple features, while Unity with AR Foundation provides a single codebase that targets iOS and Android, with ARCore Extensions enabling capabilities like Cloud Anchors and Recording/Playback. Confirm device support early; ARCore support varies by model and region, and iOS devices with the required chip/camera are generally ARKit-capable. Install Xcode or Android Studio, set your minimum OS versions, and enable camera and motion permissions. Initialize a barebones scene with a coaching overlay on iOS to help users establish tracking, and a simple debug visualizer of planes and feature points on Android. Unity users should add AR Foundation and (if needed) ARCore/ARKit provider packages, enable plane detection, and turn on the point cloud gizmo for early testing.
Quick readiness checklist (keep it tiny)
| Area | What to verify | Why it matters |
|---|---|---|
| Devices | Your test phones appear on ARCore/ARKit support lists | Prevent late surprises about unsupported hardware. |
| Packages | AR Foundation + provider packages installed | Enables cross-platform features in Unity. |
| Onboarding | Coaching overlay on iOS; simple plane visualizer on Android | Faster tracking and better first run. |
| Permissions | Camera strings on iOS, CAMERA permission on Android | Avoid runtime crashes and store rejections. |
A clean setup prevents “mystery” tracking problems later and gives you a reproducible baseline for profiling.
3. Design spatial UX that users immediately understand
The best AR feels obvious: the camera opens, the world is analyzed, and the app clearly tells the user what to do next. Start with quiet UI—let the camera view dominate and keep controls minimal. Use coaching or inline hints so people naturally move the device to help tracking. Show placement affordances: a reticle that snaps to detected planes or images, and a clear preview of the object at scale before placement. Provide direct manipulation gestures for move/rotate/scale with single-handed defaults, and give immediate feedback if tracking quality drops or surfaces are missing. If your app relies on depth or people occlusion, communicate the limits (e.g., “stand back a bit,” “more light”). Follow Apple’s AR HIG patterns for unobtrusive overlays, and keep instructions short and high-contrast.
How to do it
- Use a reticle that changes state: searching → valid surface → out-of-bounds.
- Snap placements to planes or images; provide a “place here” tap.
- Add a single persistent “Reset” control; hide advanced toggles behind a sheet.
- Keep text on screen < 12 words; pair with an icon or subtle animation.
- Indicate tracking status (normal/limited) with plain language.
Common mistakes
- Overloading screens with buttons that fight for attention with the camera feed.
- Hiding critical instructions during the first 10 seconds, when they matter most.
- Using tiny contrast-poor text over complex camera imagery.
Numbers & guardrails
- Keep the first-use instruction to one sentence and one icon; aim for comprehension within ~2 seconds. Apple’s coaching overlay is designed for this moment.
Close by testing your microcopy with 5–7 people; if they can’t place an object quickly, adjust the affordances before writing more code.
4. Prepare optimized 3D assets that render fast on phones
Realistic AR hinges on efficient assets. Use physically based materials (PBR) with modest texture sizes and careful atlasing to reduce draw calls. Keep topology clean, bake details into normal maps, and prefer Level of Detail (LOD) groups for larger models. For mobile, the main bottleneck often isn’t raw triangle count but state changes and draw calls, which you mitigate by batching meshes with shared materials and atlased textures. Establish a budget for triangle counts, texture memory, and total draw calls per frame. In Unity, profile the impact of URP/HDRP choices and shadow cascades on older devices. On iOS, keep an eye on GPU/CPU timing to hit your frame target and avoid thermal throttling. Unity Documentation
Tools/Examples
- Unity: Frame Debugger, Profiler, “Stats” overlay; texture atlasing guidance from Unity’s optimization articles. Unity
- Apple: Xcode GPU frame capture; Metal System Trace to spot shader cost spikes. Apple Developer
Numbers & guardrails
- Frame time for 60 fps ≈ 16.67 ms on both CPU and GPU; consider 30 fps (33.33 ms) if you can’t sustain 60.
- RealityKit typically caps at 60 fps; plan content quality accordingly.
End this step by locking a content budget document. When content stays within guardrails, you’ll spend far less time chasing “random” stutters later.
5. Understand the environment and place anchors correctly
AR works by estimating camera motion and understanding surfaces. Enable plane detection to anchor content to horizontal and vertical planes; the framework will add and update plane anchors as it learns. Use image tracking when you need content attached to a known poster, package, or sign—define reference images with accurate physical size so the anchor’s scale is correct. Keep anchors stable by creating them only after you’ve verified a confident hit test; prefer one persistent anchor per placed object, not per frame. For special cases, consider face or body tracking (e.g., virtual try-on) or geospatial anchoring when you need outdoor, world-scale alignment. Apple Developer
How to do it
- Turn on plane detection and draw a subtle mesh or bounds only in debug builds.
- For image tracking, supply high-contrast images, set physical size, and test in varied lighting. Microsoft Learn
- Use a raycast/hit test to place an anchor and attach your content to it; don’t move content every frame without moving the anchor.
- If using geospatial or shared anchors, plan for relocalization prompts.
Numbers & guardrails
- ARCore Augmented Images databases commonly store up to 1,000 reference images; don’t overload v1—start with < 50 and measure performance. Google for Developers
Anchors are the backbone of believable AR; nail this and everything else becomes much easier.
6. Add lighting, shadows, and occlusion for realism
Believability leaps when lighting matches the real scene, shadows are grounded, and virtual content can tuck behind real objects. Use the frameworks’ ambient light estimation, shadow receivers, and—where available—Depth/People Occlusion so virtual items hide correctly behind people or objects. On Android devices that support it, ARCore’s Depth API gives you per-pixel distance to enable realistic occlusion and physics interactions; on iOS, People Occlusion lets you composite convincingly when humans cross the camera view. Keep shadows soft and physically plausible, avoid over-bright emissive materials, and expose a simple toggle for “Realism” during QA so testers can isolate artifacts.
Tools/Examples
- ARCore Depth API docs and codelabs explain occlusion and depth-based effects.
- Apple docs cover People Occlusion and matte generation for custom renderers. Apple Developer
Numbers & guardrails
- Test with at least three lighting scenarios: bright indoor, dim indoor, and outdoor overcast; track changes in tracking stability and occlusion quality.
- If your depth pass costs > 4 ms on mid-tier devices, reduce resolution or sampling to keep within frame budget (aim for that 16.67 ms total).
End by comparing screenshots with realism toggled on/off; if the difference is not obvious, consider simpler materials and stronger shadows rather than chasing tiny shader tweaks.
7. Craft interactions that feel intuitive and forgiving
Great AR interaction behaves like a good tabletop model: you can pick it up, rotate it, scale it, and it stays put. Provide single-finger drag to translate on the plane, two-finger rotate around the up axis, and pinch to scale within sensible limits. Add haptic taps for placement and snapping, and give users a clear way to reset or recenter if tracking drifts. Apply movement smoothing and small dead-zones to avoid jitter from sensor noise. For physics, keep it lightweight and deterministic; only enable rigid-body dynamics where it adds clear value (e.g., dropping a chair to rest on the floor). When tracking quality degrades, communicate what to do: “move slowly,” “point to a textured surface,” or “increase light.”
How to do it
- Constrain scale to, say, 0.2×–2.0× of true size; beyond that, depth and parallax cues break down.
- Snap rotation to 15° increments on long-press for precise alignment.
- Give “handles” only when selected; otherwise keep the scene clean.
Numbers & guardrails
- Keep gesture latency perceptually instant; strive for < 50 ms end-to-end for translation updates.
- If moving content drops frame rate below your target, disable expensive effects while dragging and restore them on release.
Close by testing with novices; if they can’t discover rotate without a hint, add a subtle two-finger icon that fades after first use.
8. Persist scenes and enable multiuser when it truly helps
If your use case needs content to persist across sessions or be shared among users in the same physical location, consider Cloud Anchors (ARCore) or platform-specific persistence features. Cloud Anchors host anchor data on a backend so different devices can resolve the same real-world location and see the same content. For at-scale outdoor alignment, ARCore’s Geospatial API ties content to Earth coordinates for world-level experiences. On iOS, design for smooth relocalization after interruptions; Apple’s coaching overlay can guide users back to a known area to re-establish tracking. Take privacy into account: avoid storing raw images; persist only the minimal anchor data the platform requires.
How to do it
- Use ARCore Extensions for Unity if you’re cross-platform and need Cloud Anchors or Geospatial.
- Provide a simple “Scan area” step before hosting/resolving; show progress and success feedback.
- Handle failures gracefully with a fallback (e.g., local placement only).
Numbers & guardrails
- Expect initial host/resolve to take a few seconds depending on scene complexity and network conditions—design a progress state and an escape hatch.
- For reliable resolving, guide users to view the area from multiple angles; relocalization benefits from diverse visual features. Apple Developer
Finish by deciding whether persistence is essential or optional. If optional, treat it as an advanced mode so your core flow stays friction-free.
9. Test systematically, profile performance, and instrument your product
AR is sensitive to environment, device, and motion. Build repeatable tests: record short walkthroughs and play them back to reproduce issues without physically revisiting the site. On Android, ARCore’s Recording & Playback API lets you capture an AR session into an MP4 and replay it at will; Unity’s ARCore provider exposes similar hooks. On iOS, simulate adverse tracking by covering the camera briefly and validate your relocalization flows. Profile GPU/CPU frame time and draw calls early; fix the biggest bottlenecks first. Add product analytics tied to AR milestones: entered AR, first plane detected, object placed, size adjusted, photo captured. These metrics tell you where users drop off and which instructions or surfaces confuse them.
How to do it
- Establish golden paths: three recordings that represent common rooms or outdoor scenes; use them as regression tests.
- Log tracking state transitions and time-to-first-plane; alert if excessive.
- Automate smoke tests that launch AR, place an object, and capture a frame hash.
Numbers & guardrails
- Aim for > 95% success on your golden paths before release.
- Keep cold start to first detected plane under 3 seconds on mid-range devices; if slower, reduce initialization work and delay heavy asset loads.
End by making QA iterative: every time you add a realism feature, verify it on all golden paths and two device tiers.
10. Respect privacy, design for safety, and prepare for release
AR apps touch cameras, sometimes microphones, motion sensors, and occasionally location. Declare and justify permissions clearly. On iOS, include NSCameraUsageDescription (and other usage strings as needed) with concise, specific reasons; on Android, declare the CAMERA permission in the manifest and request it at runtime. Ensure your copy matches what the app actually does. Add safety affordances: discourage using AR while walking in unsafe contexts, provide a content clear-all, and fade content when the app detects poor tracking or motion that suggests the user is moving too fast. Before shipping, review platform UX guidelines one more time, check device support lists, and verify that crash and analytics tooling capture AR-specific events.
Mini-checklist
- Permissions: concise iOS usage strings; Android manifest and runtime request.
- Safety: visible reset; fade content on lost tracking; short on-screen reminders about surroundings.
- Store prep: screenshots showing clear before/after value; note device requirements in the listing.
- Support: include an in-app “Report an issue” with a tap that bundles logs and a frame capture.
Numbers & guardrails
- Keep the permission rationale under 20 words and free of jargon; long, vague reasons lower grant rates.
- Test the full first-run flow on 3+ devices and two lighting environments before submitting.
Treat release as the beginning: plan a fast iteration loop for copy, onboarding, and performance based on real-world telemetry.
Conclusion
Creating augmented reality experiences in mobile apps with ARKit and ARCore is less about flashy demos and more about a disciplined pipeline: choose a use case that truly benefits from spatial computing, build on a clean, cross-platform setup, and design a spatial UI that teaches itself. Anchor content only when surfaces are confident, match real-world lighting and occlusion to ground your objects, and keep interactions forgiving so people feel in control. When you need persistence or shared scenes, use the platform services thoughtfully and design for relocalization and network variability. Above all, profile performance and test in environments that mirror reality, because AR fails in the small details—draw calls left unbatched, coaching hints that appear too late, or permission copy that confuses. Follow the steps here and you’ll ship AR that helps users accomplish something tangible. Ready to build? Start with a small, valuable scene and grow from there—one anchor at a time.
FAQs
How do ARKit and ARCore differ, and does it matter for my app?
Both provide world tracking, plane detection, anchors, and light estimation. ARKit integrates deeply with iOS frameworks (RealityKit, SceneKit) and offers features like People Occlusion; ARCore spans many Android devices and includes Depth API and Geospatial at scale. If you need one codebase, Unity with AR Foundation bridges both while exposing platform specifics via extensions. Choose based on devices you support and features you actually need rather than theoretical differences. Google for DevelopersApple DeveloperGoogle for Developers
What is an anchor, and when should I create one?
An anchor represents a fixed pose in the real world. Create it when your hit test is confident, then attach content to that anchor and avoid per-frame repositioning. Plane anchors update as understanding improves; image anchors appear when a known image is recognized. This pattern yields stable content and predictable behavior, especially during relocalization.
Do I need depth/occlusion for a good v1?
Not always. Many successful v1s launch with planes and solid lighting but no occlusion. Add ARCore’s Depth API or ARKit People Occlusion when your content must pass behind real objects or humans. Depth adds realism but costs GPU time; measure its impact on frame time and enable it selectively on supported devices.
How can I make onboarding painless?
Use Apple’s coaching overlay on iOS and a simple stateful reticle on Android. Keep instructions ultra-short and high-contrast. Show progress during scanning, and only unlock placement when tracking is adequate. Most users have little AR experience—clear signifiers and immediate feedback prevent early abandonment.
What devices should I support on Android?
Check Google’s official ARCore supported devices list and test on at least one mid-tier and one high-tier device. Some features (e.g., Depth) are limited to certain models. Confirm support early so you can set expectations in your store listing and avoid enabling features on unsupported hardware.
Should I build natively or with Unity AR Foundation?
If you’re iOS-only and want to leverage the latest Apple features with minimal overhead, native (ARKit + RealityKit/SceneKit) is great. If you need both iOS and Android with shared code and want Cloud Anchors/Geospatial, Unity + AR Foundation + ARCore Extensions is pragmatic. Prototype both approaches for a week and compare iteration speed and performance. Unity Documentation
How do I test AR features without revisiting a site?
On Android, ARCore Recording & Playback lets you capture a session and replay it later, which is perfect for regression tests and performance profiling. In Unity, ARCore session recording is available via the ARCore provider. Combine this with automated smoke tests to keep regressions from sneaking in. Google for Developers
What performance targets should I aim for?
Aim for a stable 60 fps where feasible; on constrained devices, a locked 30 fps is acceptable. Translate that to frame budget: ~16.67 ms for 60 fps or ~33.33 ms for 30 fps. Profile early to reduce draw calls and state changes, atlas textures, and trim shader complexity; AR’s constant camera motion exposes stutters immediately. Apple Developer
How do permissions and privacy affect AR?
You must declare camera access and explain why you need it. On iOS, include NSCameraUsageDescription with a clear, specific purpose string; on Android, declare CAMERA in the manifest and request at runtime. Be conservative with any capture or location data, and document your practices in the privacy policy.
When should I use image tracking instead of plane detection?
Use image tracking when you must attach content to known 2D markers—packaging, posters, or instruction sheets. It’s reliable in controlled contexts and provides scale if you set the physical size correctly. Plane detection is better for free placement on floors, tables, or walls without markers. Many apps combine both: image tracking for onboarding, planes for free exploration.
References
- Augmented reality – Human Interface Guidelines, Apple. (n.d.). https://developer.apple.com/design/human-interface-guidelines/augmented-reality
- ARCoachingOverlayView, Apple Developer Documentation. (n.d.). https://developer.apple.com/documentation/arkit/arcoachingoverlayview
- Tracking and visualizing planes, Apple Developer Documentation. (n.d.). https://developer.apple.com/documentation/arkit/tracking-and-visualizing-planes
- ARImageAnchor, Apple Developer Documentation. (n.d.). https://developer.apple.com/documentation/arkit/arimageanchor
- Anchors (ARFrame.anchors), Apple Developer Documentation. (n.d.). https://developer.apple.com/documentation/arkit/arframe/anchors
- Occluding virtual content with people, Apple Developer Documentation. (n.d.). https://developer.apple.com/documentation/arkit/occluding-virtual-content-with-people
- Improving your game’s graphics performance and settings, Apple Developer Documentation (Metal). (n.d.). https://developer.apple.com/documentation/metal/improving-your-games-graphics-performance-and-settings
- Improving the Performance of a RealityKit App, Apple Developer Documentation. (n.d.). https://developer.apple.com/documentation/realitykit/improving-the-performance-of-a-realitykit-app
- ARCore supported devices, Google Developers. (n.d.). https://developers.google.com/ar/devices
- Depth adds realism, ARCore, Google Developers. (2025). https://developers.google.com/ar/develop/depth
- Use Depth in your Android app – Developer guide, ARCore, Google Developers. (2024). https://developers.google.com/ar/develop/java/depth/developer-guide
- Getting started with AR Foundation, Google Developers (Unity + ARCore Extensions). (2025). https://developers.google.com/ar/develop/unity-arf/getting-started-ar-foundation
- Cloud Anchors – developer guide, Google Developers. (2025). https://developers.google.com/ar/develop/cloud-anchors
- Recording and playback introduction, ARCore, Google Developers. (2025). https://developers.google.com/ar/develop/recording-and-playback
- ARCore Session Recording (Unity ARCore provider), Unity Docs. (n.d.). https://docs.unity3d.com/Packages/com.unity.xr.arcore%406.1/manual/arcore-session-recording.html
- AR Foundation package documentation, Unity Docs. (n.d.). https://docs.unity3d.com/Packages/com.unity.xr.arfoundation%40latest/
- Optimizing draw calls, Unity Manual. (n.d.). https://docs.unity3d.com/2022.3/Documentation/Manual/optimizing-draw-calls.html
- NSCameraUsageDescription, Apple Developer Documentation. (n.d.). https://developer.apple.com/documentation/BundleResources/Information-Property-List/NSCameraUsageDescription
- Declare app permissions, Android Developers. (2025). https://developer.android.com/training/permissions/declaring
- The Usability of Augmented Reality, Nielsen Norman Group. (2022). https://www.nngroup.com/articles/ar-ux-guidelines/